Solving Student Dysregulation and Educator Burnout
In a time when 60% of teachers report frequent job-related stress and burn out and 1 in 6 students face mental health challenges, HeartMath offers proven techniques and technologies to build real-time stress resilience and self-regulation—for everyone in your school community.

Education Programs
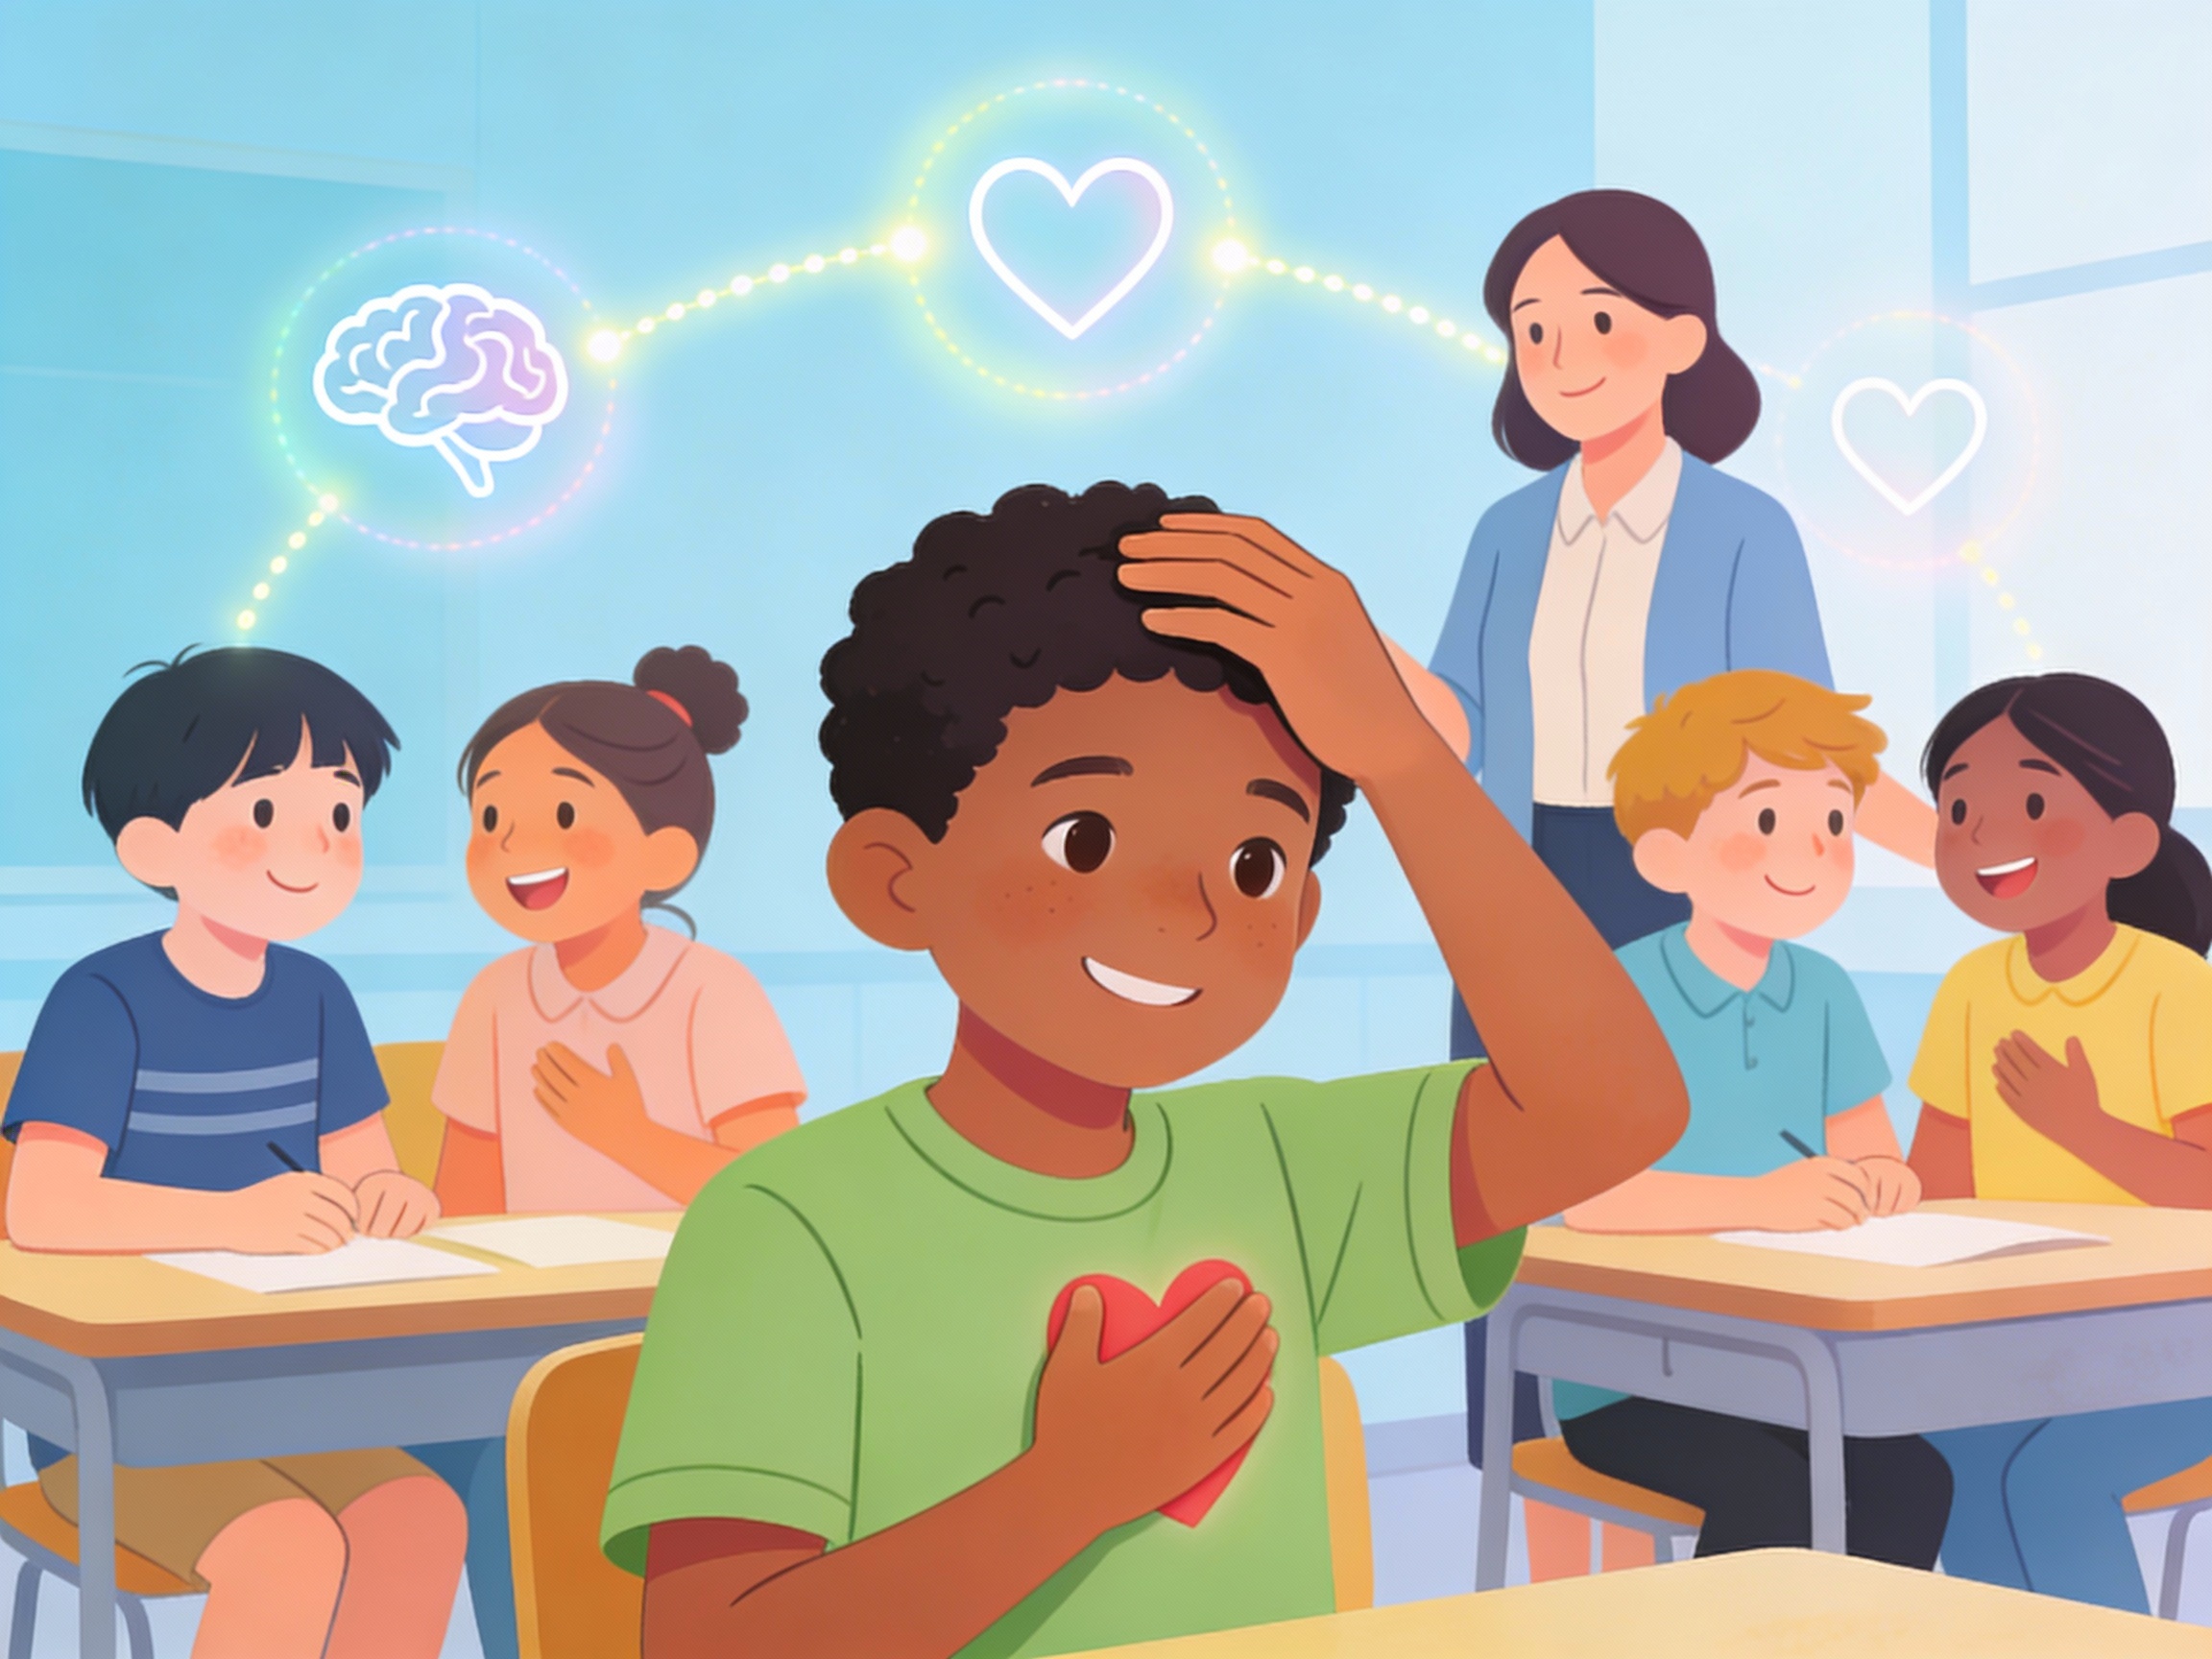
HeartMath programs and self-regulation technology teach students to actively regulate their emotions—not just identify them. By addressing student dysregulation at its core, students gain essential skills to thrive academically, emotionally, and socially.

Pre-K Through 12th-Grade
HeartMath offers evidence-based SEL programs for Pre-K through 12th grade using engaging stories, interactive activities, animated videos, and hands-on self-regulation techniques. Students build emotional resilience, sustained focus, impulse control, strategic decision-making, and compassion for others. Research validates significant improvements in academic performance, classroom behavior, peer relationships, and test anxiety—equipping students with lifelong skills for success in school, career, and relationships.

Ages 3-6+
The Sunshine Secret®
Award-winning interactive e-learning program teaches young children to recognize, express, and self-regulate emotions through delightful stories, songs, and activities. Scientifically validated to build emotional foundation, healthy relationships, self-esteem, and essential self-control skills for lifelong success.
Ages 4-7+
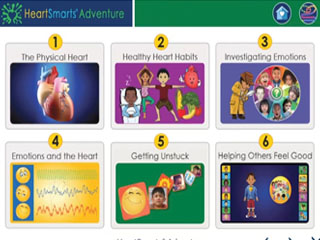
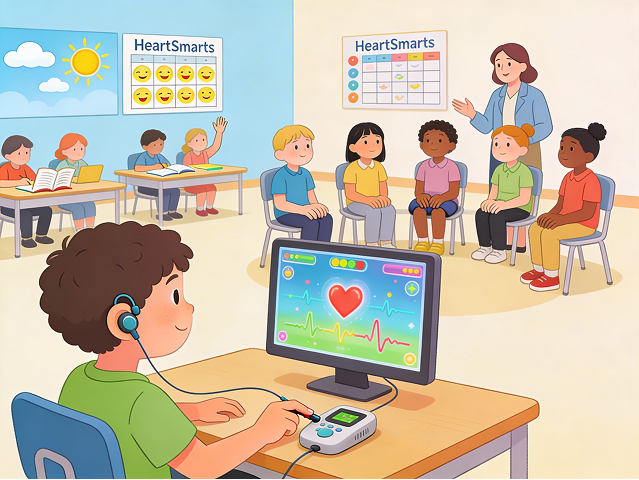
HeartSmarts® Adventure
Trauma-informed blended learning program combines teacher-led instruction with self-paced online learning. Children explore how the heart works while learning to manage emotions and express compassion through 60+ engaging activities and three self-regulation techniques that build lifelong emotional skills.

Ages 7-10+
WiseHeart™
Engaging social-emotional learning program uses 3D animated videos, interactive activities, guided drumming, and rap songs to develop self-regulation, communication, decision-making, and compassion skills. Aligned with CASEL competencies, includes pre/post assessments and printed posters. Awarded Best Elementary School Product 2023.
Ages 9-16
Smart Brain Wise Heart
Addresses middle and lower high school challenges with engaging whiteboard animation videos and diverse enrichment activities teaching essential social-emotional competencies. Flexible instruction includes discussion guides, worksheets, illustrated articles, scenario videos, and project-based assignments. Features 24-question pre/post survey to measure student progress.

Ages 6-18+
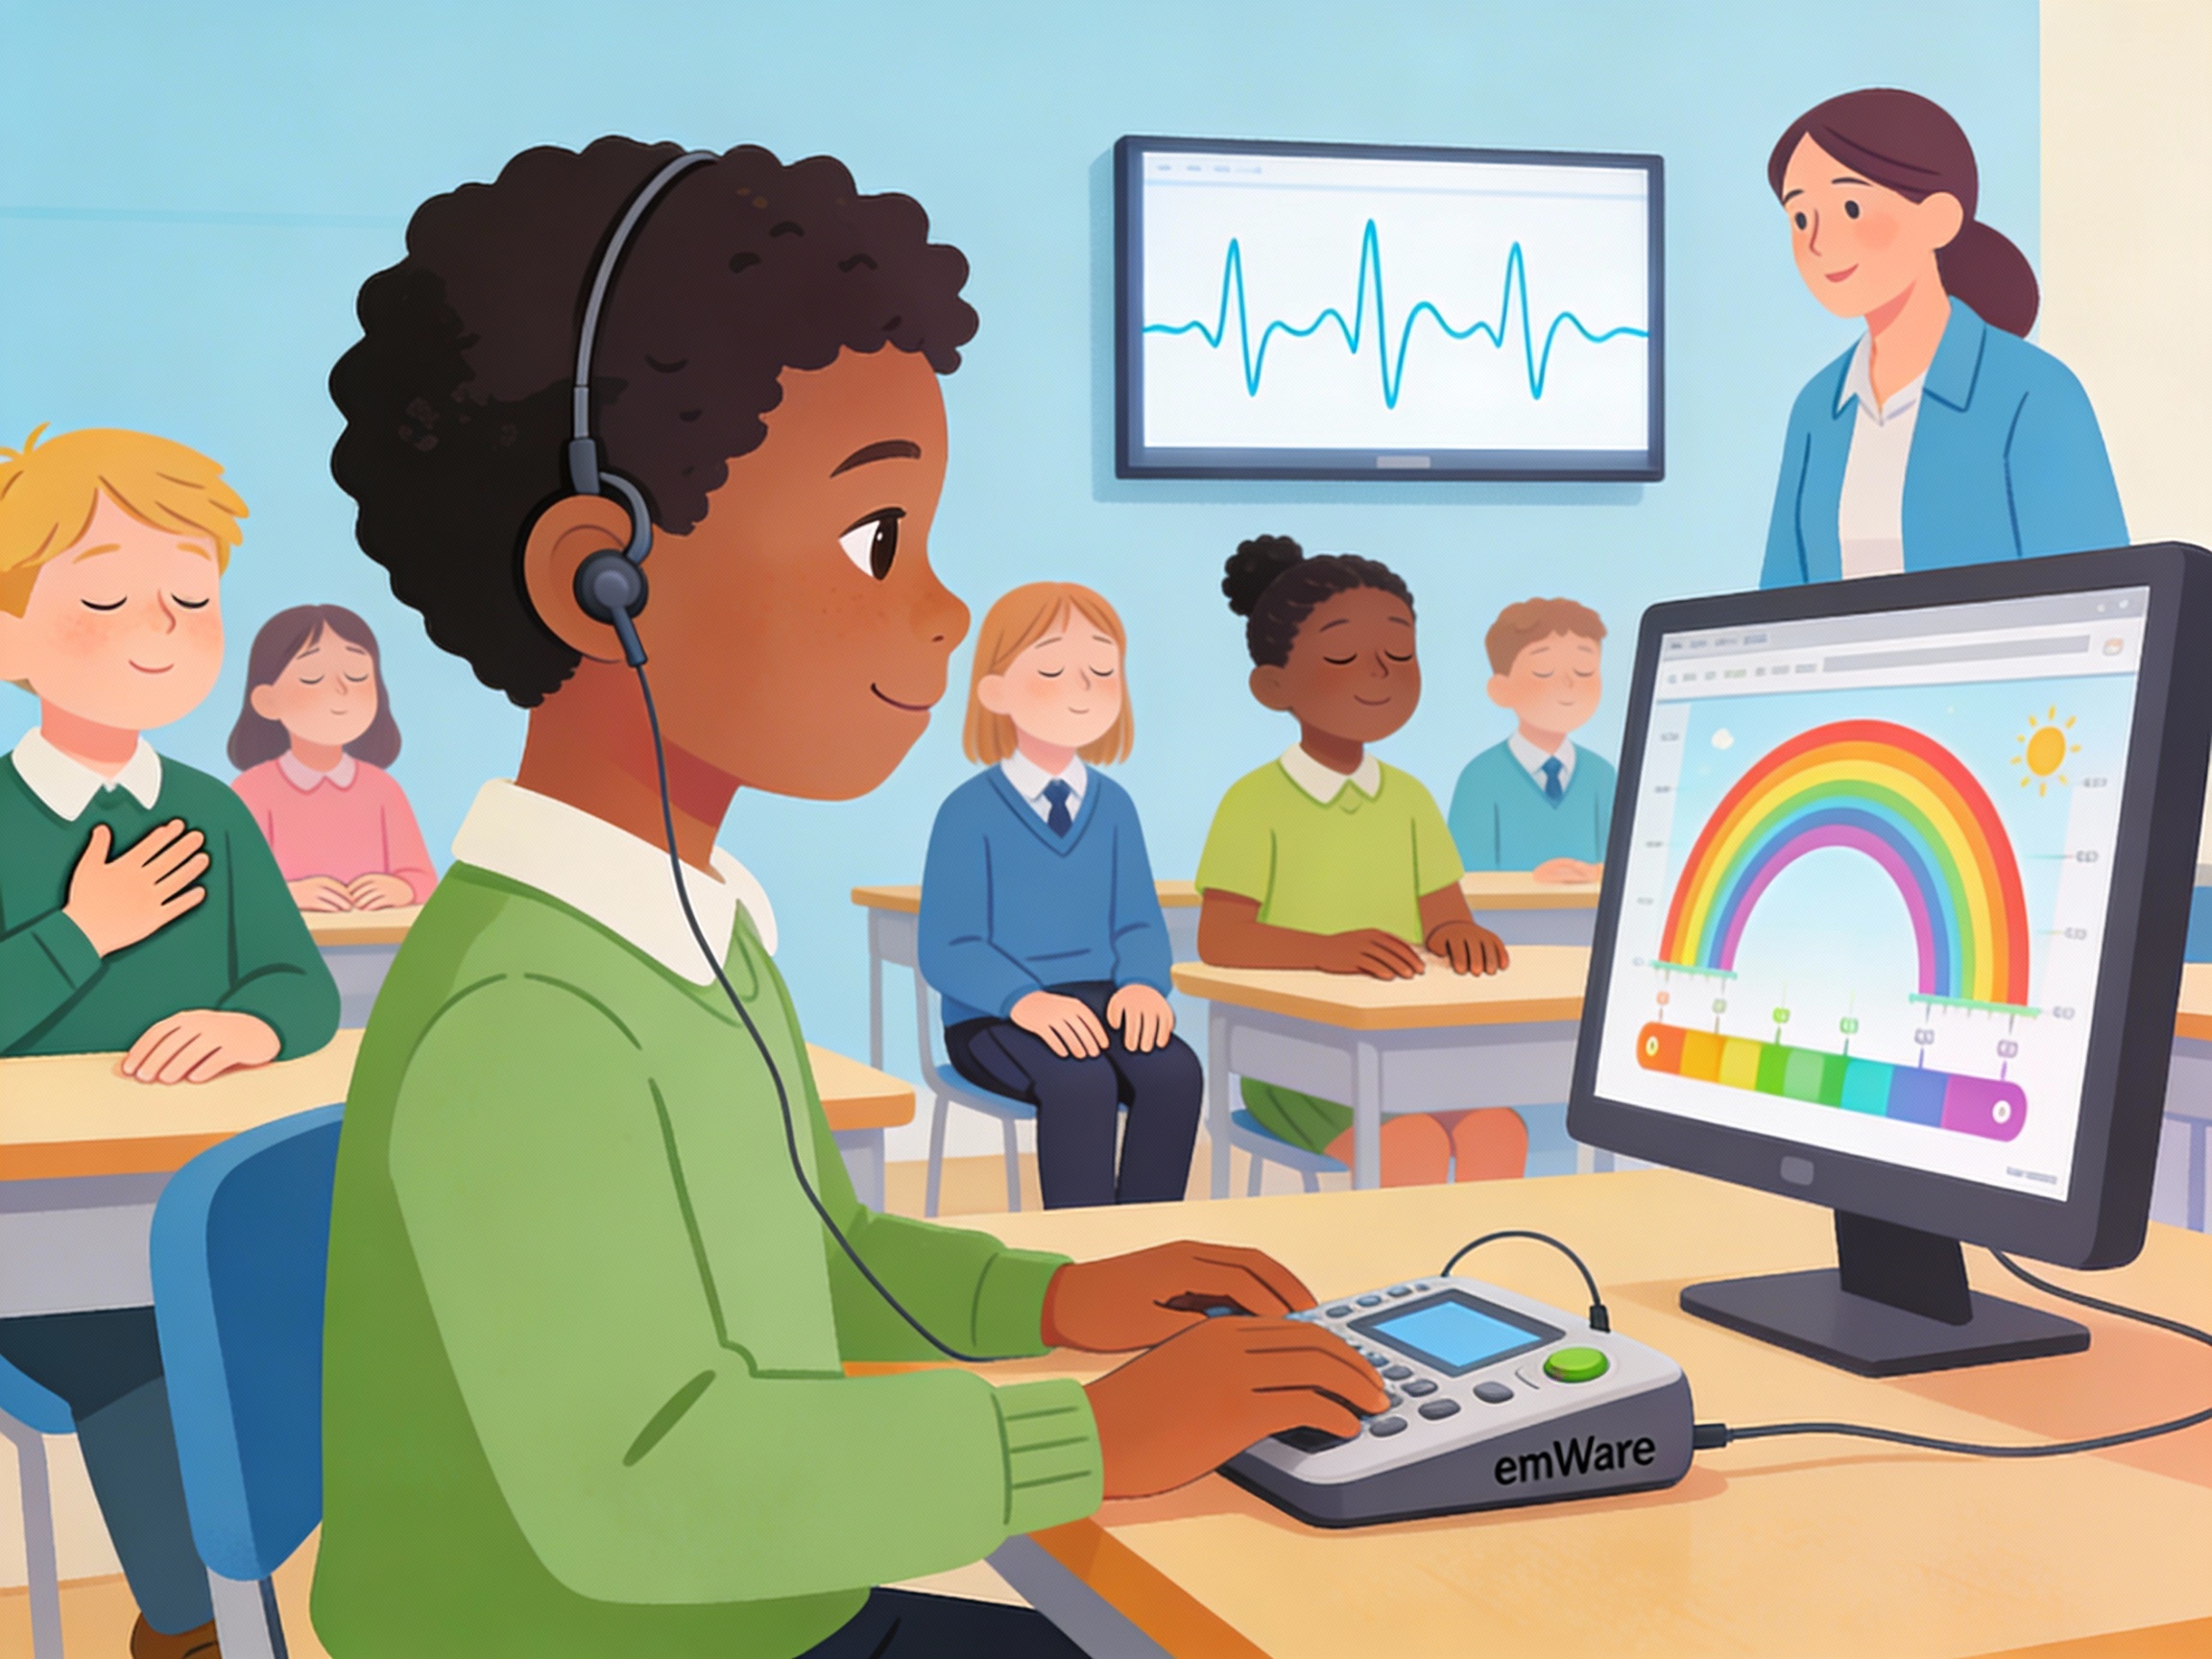
emWave Pro – Self- Regulation Technology
Addresses middle and lower high school challenges with engaging whiteboard animation videos and diverse enrichment activities teaching essential social-emotional competencies. Flexible instruction includes discussion guides, worksheets, illustrated articles, scenario videos, and project-based assignments. Features 24-question pre/post survey to measure student progress.

Self-Regulation Technology (Ages 6 – 18+)
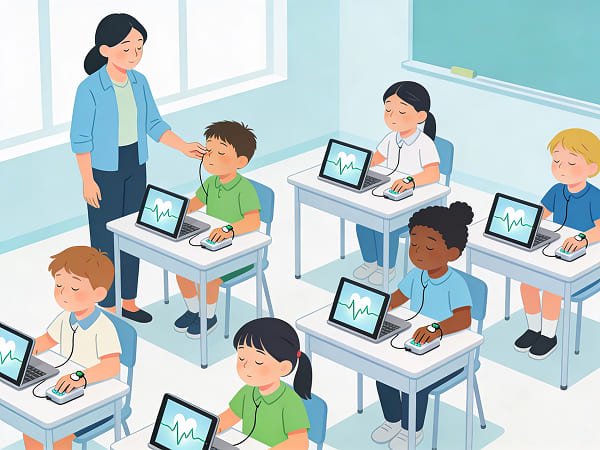
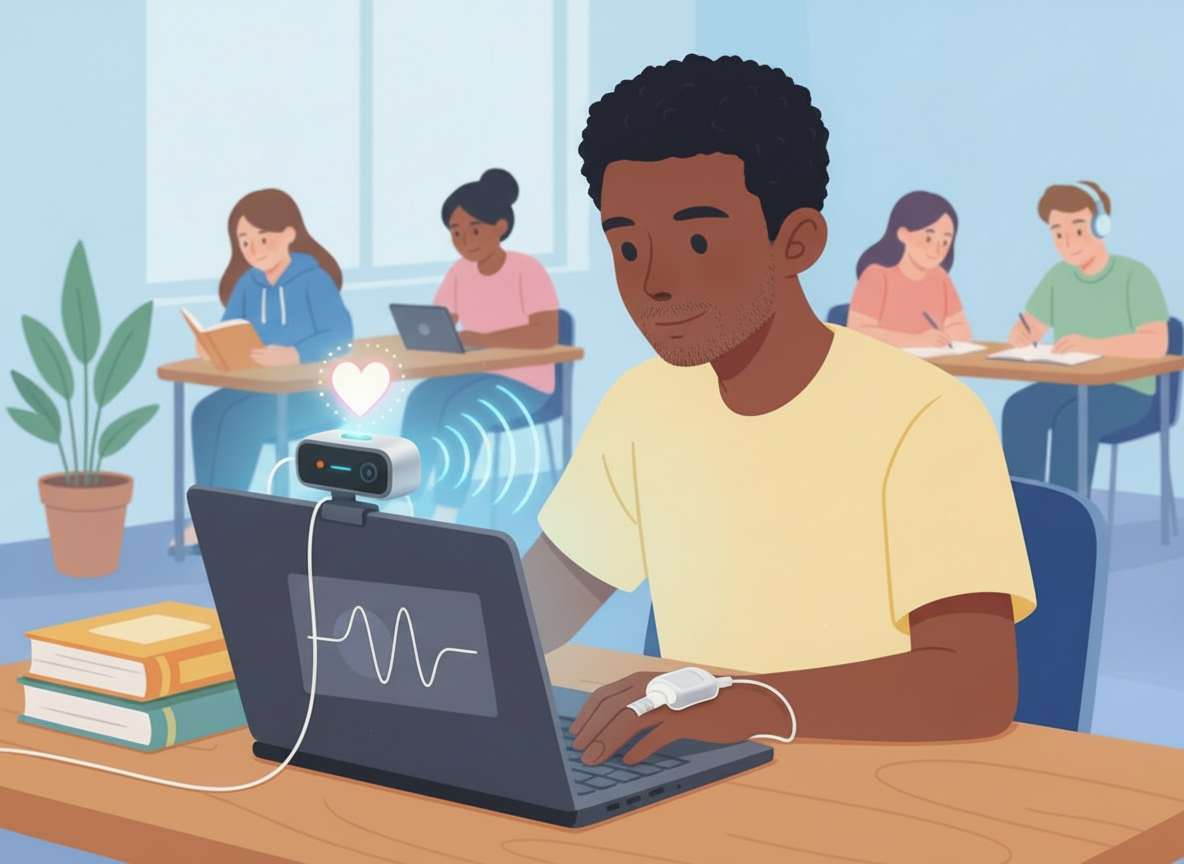
HeartMath’s self-regulation technology helps students quickly learn to regulate emotions, reduce stress, and achieve a balanced state for optimal learning. Using real-time feedback, students develop focus, emotional resilience, and impulse control—leading to improved behavior, test performance, and social connections. Research shows significant improvements in attention, memory recall, test anxiety reduction, and overall academic success.
Ages 6-18+
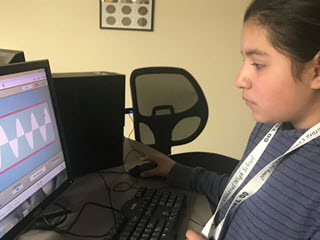
emWave® Pro for Building Self-Regulation Skills
Real-time biofeedback technology teaches students to self-regulate emotions and achieve balanced mental-emotional states, reducing test anxiety, improving focus, memory recall, and behavior while building essential skills for academic and social success
Ages 8-18+
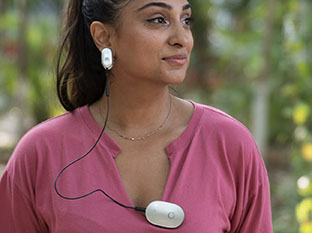
Inner Balance™ Coherence Plus
Portable HRV coherence biofeedback technology helps students reduce test anxiety, improve focus, and self-regulate emotions in real-time. Bluetooth ear sensor provides immediate coherence feedback, teaching students to shift from stress to calm for better learning and performance.

Child Mental and Emotional Health (Ages 3-16+)
HeartMath’s evidence-based interventions help dysregulated children achieve emotional regulation through proven self-regulation techniques and real-time biofeedback technology. Effective for ADHD, anxiety, anger, childhood trauma, impulse control, and social phobia—thousands of children have gained focus, emotional stability, and sustainable behavioral change.

College and University
HeartMath’s evidence-based programs help college students manage overwhelm, test anxiety, and behavioral issues through self-regulation techniques and biofeedback technology. Used at hundreds of colleges worldwide in counseling centers, disability services, athletic departments, and student-retention programs—students develop emotional resilience, focus, impulse control, and stress management skills for academic success and lifelong well-being.

Mental Health Professionals
HeartMath Interventions — Establishing A New Physiological Baseline for Sustained Behavioral Change
The HeartMath Interventions certification program is designed for psychologists, counselors and other licensed professionals to help youth and adults develop greater emotional self-regulation.

College and University
emWave® and Inner Balance™ Self-Regulation Technology
Used by tens of thousands of students around the world, emWave and Inner Balance Trainers, help students quickly gain the self-regulation skills needed for their mental, emotional and physical well-being and academic success.

College and University
College De-Stress Handbook
From years of scientific research into stress, emotions and the physiology of learning, the College De-Stress Handbook is the serious student’s personal roadmap through the maze of stressors and time demands guaranteed to show up on and off campus.

Professional Development
HeartMath training and certification programs are designed for counselors, psychologists, teachers, administrators, professors and consultants. Numerous independent, peer-reviewed studies have validated significant and sustained improvements such as reduced stress, improved employee health, well-being, lower health-care costs, shorter meeting times and increased productivity and resilience.

Professional Development
Coherence Advantage
Train others to connect more deeply with the wisdom and guidance of their heart’s intuitive intelligence — turn challenging days into ones with more ease and flow.

Professional Development
Activating The Heart of Teams
The Activating the Heart of Teams Certification program introduces the knowledge, concepts and skill sets for building team coherence, and is designed for experienced trainers, consultants, coaches or facilitators that currently have, or have had experience working with teams.

Professional Development
Stress and Well-Being Assessment Provider Program
The Stress and Well-Being Assessment Provider Program delivers everything needed to successfully incorporate a powerful assessment tool into your work with individuals and small groups.
Teaching with Heart Teacher & Teen Stories
Meet educators and teens who have experienced the benefits of HeartMath tools, using them to enrich lives, foster compassion, improve decisions, and reduce anxiety.
- Teacher Stories
- Teen Stories
Research Papers and Articles
Heart Rate Variability Biofeedback Intervention Program to Improve Attention in Primary Schools
A heart rate variability biofeedback program improved attention in primary school students, especially younger ones, by teaching controlled breathing techniques.
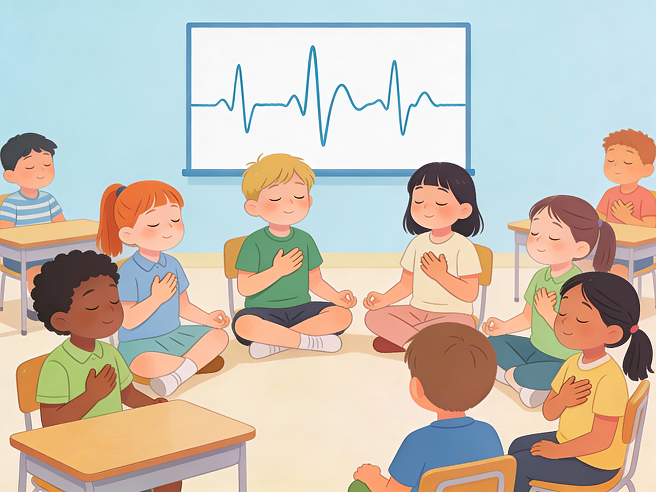
The Effects of HeartMath Heart Lock-In on Elementary Students’ HRV and Self-Reported Emotion Regulation Skills
This study shows a brief daily HeartMath practice in elementary classrooms can increase heart rate variability and improve emotional well-being and focus in students.
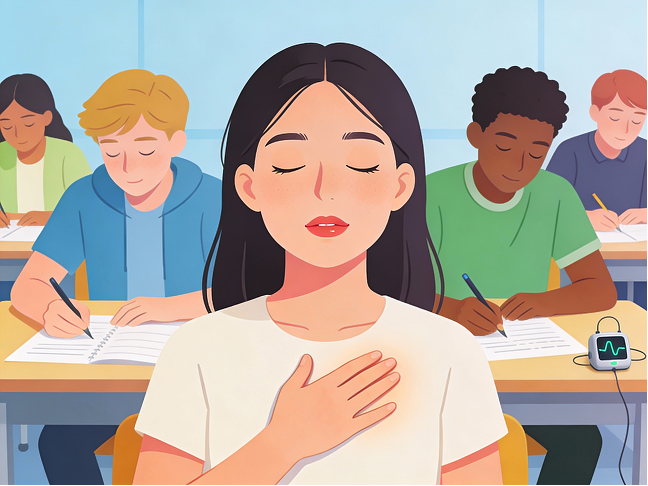
The Effectiveness of Social-Emotional Learning Strategies and Mindful Breathing with Biofeedback on the Reduction of Adolescent Test Anxiety
Social Emotional-Learning intervention in high school psychology course improved test preparedness, reduced anxiety, and boosted academic performance. Study skills and mindful breathing were key components.
Experimental Evaluation of a Neurophysiological Intervention Designed to Increase Student Resilience: A Pilot Study
A pilot study of Smart Brain Wise Heart Social and Emotional Learning intervention showed promising results for students with lower academic achievement, improving resilience and mental health.
Self-Regulatory Biofeedback Training: An Intervention to Reduce School Burnout and Improve Cardiac Functioning in College Students
HRV Coherence Biofeedback training reduced school burnout and improved math performance in college students, while also enhancing cardiac health.
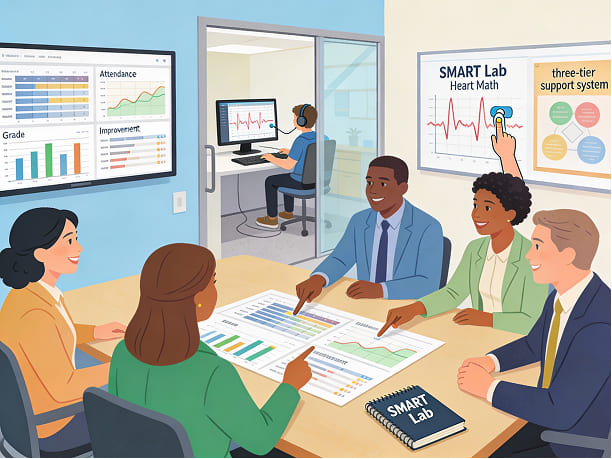
School Counselors and the School Leadership Team
School counselors used leadership team to implement SMART Lab, a K-12 support system. Evidence-based evaluation showed improvements in student behavior, attendance, and grades.
Coherence Training in Children with Attention-Deficit Hyperactivity Disorder: Cognitive Functions and Behavioral Changes
A clinical trial of HeartMath coherence training for 38 UK children with ADHD showed improved cognitive functions and behaviors, suitable for school use
The Effects of a Mindfulness and Biofeedback Program on the On- And Off-Task Behaviors of Students with Emotional Behavioral Disorders
A 12-week mind-body program using mindfulness and biofeedback was tested in special ed classrooms. Results showed decreased off-task behaviors and improved on-task behaviors for ED students.

Reducing Test Anxiety and Improving Test Performance in American’s Schools: Summary of Results from the TestEdge® National Demonstration Study
Study of 980 students shows HeartMath tools reduce test anxiety and improve performance. 75% of anxious students improved. Coherence-building methods led to better emotional regulation and test scores.

Essential Tools for Building Emotional Wellness in Families
We understand this can be an especially stressful time to be a parent. Parenting in today’s world can contribute to feelings of anxiety, overwhelm, and depletion. That’s why, with over 30-years’ experience helping people manage stress and improve emotional well-being, HeartMath has designed a program especially for parents.
Learn simple, effective tools with immediate benefits!
Families
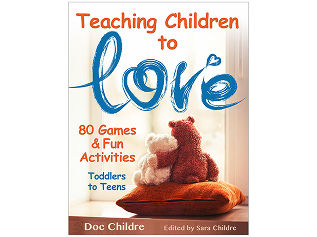
Teaching Children to Love – e-Book
Teaching Children to Love presents new perspectives and building blocks for new levels of intelligence, emotional management, deeper communication and self-security – helping children feel positive and hopeful.
Families
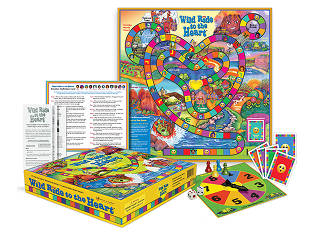
Wild Ride to the Heart Game
Wild Ride teaches children about recognizing, expressing and balancing their emotions. It makes you feel good in your heart.

Families
Heart to Heart – Connecting With Your Child Book
This beautifully illustrated color booklet presents powerful ideas simply. Includes the Shift and Shine,™ science-based technique for children.

Pattern
Check Out Smart Hearts
Check Out Smart Hearts
A Quarterly Newsletter for Educators and Parents